Are you looking to upgrade your outdoor space with a stylish and durable patio? A resin patio might be the perfect solution for you.
In this article, we will explore what exactly a resin patio is, why you should consider choosing one, the different types of resin patios available, and the materials needed for installation.
We will also provide you with a step-by-step guide on how to prepare for installation and the necessary steps to successfully install a resin patio.
Discover some tips on how to properly maintain your resin patio to ensure its longevity and beauty. If you're interested in creating a stunning outdoor space with minimal maintenance, keep reading to learn more about resin patios!
What Is A Resin Patio?
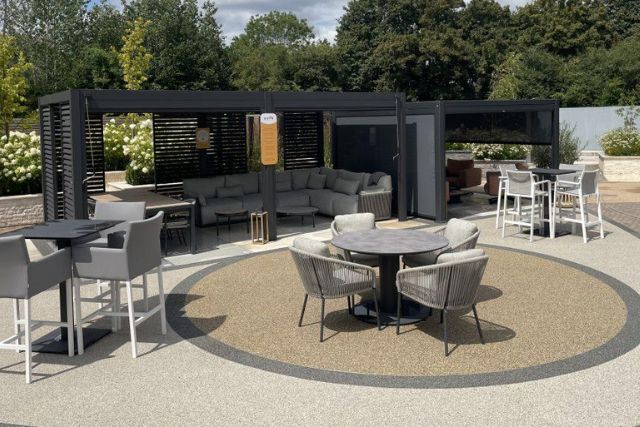
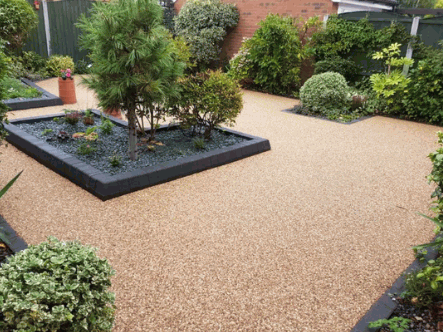
A resin patio, also known as a resin bound surface, is an outdoor flooring solution that combines natural aggregates with a clear resin binder to create a smooth, permeable surface ideal for patios, driveways, and pathways.
The permeability of resin patios allows water to drain through the surface, reducing the risk of puddles and water damage. The visually appealing aggregates used in resin patios come in a wide range of colors and sizes, making them customizable and versatile in design.
Why Choose A Resin Patio?
Choosing a resin patio offers numerous advantages, such as a permeable surface that allows water to drain through, reducing flooding and puddling, and UV stability, which ensures the surface remains aesthetically pleasing over time.
Resin patios not only provide functional benefits but also contribute positively to the environment. Their permeable nature allows rainwater to seep through, replenishing the ground instead of running off and causing erosion. This feature helps in groundwater recharge and minimizes the strain on drainage systems, promoting sustainable water management. The UV stability of resin surfaces is crucial in maintaining their color and finish, protecting them from fading or discoloration due to sun exposure.
What Are The Types Of Resin Patios?
Resin patios can be classified into various types based on the resin used, each offering unique properties and benefits, with some of the most common types being epoxy resin patios, polyurethane resin patios, and acrylic resin patios.
Epoxy Resin Patios
Epoxy resin patios are known for their strong adhesive properties, making them ideal for creating durable resin pathways and surfaces that can withstand heavy foot traffic.
The durability of epoxy resin patios is unmatched, providing long-lasting surfaces that resist wear and tear over time. Their seamless finish not only enhances the aesthetic appeal of outdoor spaces but also makes maintenance a breeze. Due to the low porosity of epoxy resin, patios are resistant to staining and easy to clean with just a simple wipe-down. This makes them a perfect choice for high-traffic areas, such as commercial spaces or outdoor entertainment areas.
Polyurethane Resin Patios
Polyurethane resin patios offer a more flexible surface compared to other types, making them suitable for areas that experience temperature fluctuations and ground movement.
This flexibility allows the patio to accommodate the natural shifts in the ground without suffering from cracking or damage, ensuring long-term durability.
Polyurethane resin is highly resistant to UV rays and harsh weather conditions, making it ideal for outdoor spaces in various climates.
Unlike traditional materials, these patios require minimal maintenance and are easy to clean, saving homeowners both time and money.
Acrylic Resin Patios
Acrylic resin patios are favored for their excellent UV resistance and ability to create a decorative finish, making them a popular choice for aesthetically appealing outdoor spaces.
These patios are known for their durability, as they can withstand harsh weather conditions without fading or deteriorating. The UV resistance ensures that the vibrant colors and patterns remain intact for years, adding a touch of elegance to any outdoor area. Maintenance for acrylic resin patios is relatively hassle-free, requiring simple cleaning with soap and water to keep them looking pristine.
What Materials Are Needed to Install A Resin Patio?
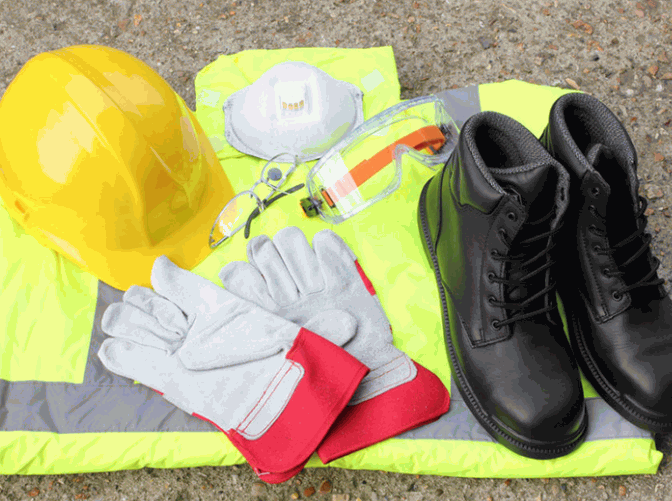
To install a resin patio, you will need several key materials, including resin, a hardener, aggregates such as resin bound gravel, a trowel for application, and protective gear to ensure safety during the installation process.
Resin
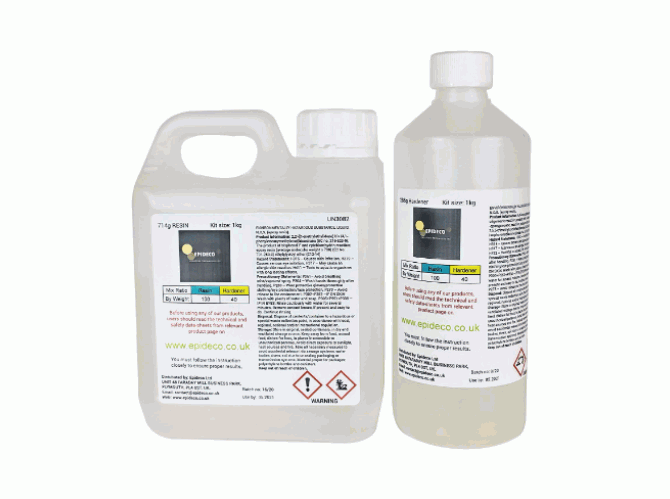
The resin acts as a binder that holds the aggregates together, providing strength and durability to the patio surface.
Resin is crucial in the installation process of patios due to its remarkable binding properties. It not only secures the individual particles in place but also creates a solid composite structure that can withstand heavy foot traffic and varying weather conditions. There are different types of resins available for patio installations, such as polyurethane, epoxy, and acrylic resins, each offering unique characteristics.
Resin plays a significant role in enhancing the longevity and appearance of the patio. Its ability to protect the surface from UV rays, moisture, and stains helps maintain the patio's color and texture over time. A well-applied resin coating can add a glossy finish or a matte effect, depending on the desired aesthetic, making the patio more visually appealing.
Hardener
The hardener is mixed with the resin to initiate the curing process, which solidifies and strengthens the resin bound surface.
During the installation process of a resin bound surface, the hardener plays a crucial role in ensuring the durability and stability of the patio. When mixed with the resin, the hardener triggers a chemical reaction that begins the curing process. This reaction causes the mixture to harden, transforming it into a strong and resilient surface. Proper mixing of the hardener with the resin is essential to achieve an even distribution and ensure uniform curing. Without thorough mixing, the resin bound surface may not cure uniformly, leading to weak spots and potential issues with the patio's longevity.
Aggregate
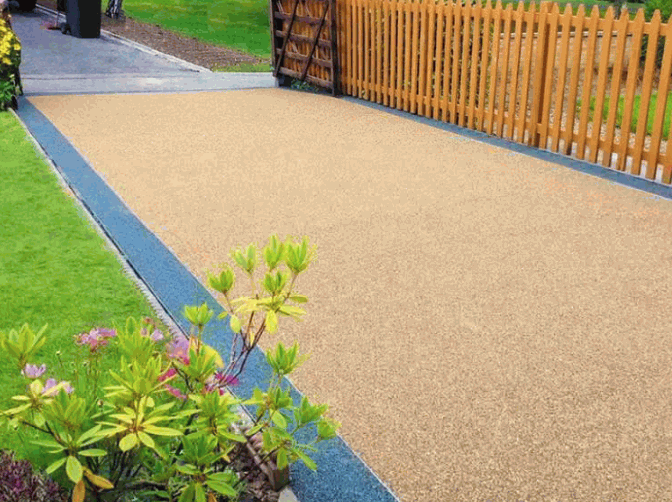
Aggregates, such as resin bound gravel, are mixed with the resin to create the textured surface of the patio, providing both aesthetic appeal and functional durability.
In terms of resin patios, various types of aggregates are utilized to achieve different looks and characteristics. Some popular options include crushed stones, quartz, marble chips, and recycled glass. Each type of aggregate brings its unique visual appeal and texture to the patio surface, allowing homeowners to customize their outdoor spaces to suit their preferences.
The combination of resin and aggregates not only enhances the patio's appearance but also improves its strength and durability. The binding properties of the resin ensure that the aggregates are securely held together, creating a smooth and stable surface that can withstand heavy foot traffic and outdoor elements.
Trowel
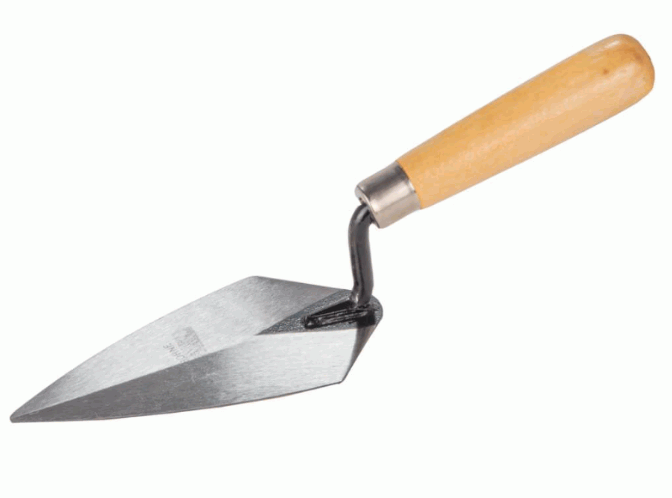
A trowel is used to spread the resin-aggregate mixture evenly across the surface, ensuring a smooth and level finish.
By using a trowel effectively, contractors can achieve a consistent thickness of the surfacing material, which is crucial for its durability and aesthetic appeal. Troweling is a skill that requires patience and practice; knowing the right pressure to apply and the proper angle to hold the trowel can make a significant difference in the final outcome. It's essential to start troweling when the mixture is at the right consistency – not too wet or dry.
Protective Gear
Wearing protective gear, such as gloves and goggles, is essential to ensure safety during the installation of a resin patio.
While wearing gloves protects your hands from chemicals and sharp objects, goggles shield your eyes from any splashes or fumes that may be emitted during the process. It is recommended to wear long sleeves and pants to cover exposed skin. In terms of other safety gear, respirators or masks can prevent inhaling harmful vapors, particularly in poorly ventilated areas. Before starting the installation, ensure proper ventilation in the workspace to minimize potential health risks.
How To Prepare For Installation?
Proper preparation is crucial for the successful installation of a resin patio, starting with choosing the right location, preparing the existing surface, and gathering all necessary materials for creating a stable driveway base or pathway.
Find out more: How To Repair Resin Patio Furniture
Choose The Right Location
Choosing the right location for your resin patio involves assessing the soil condition, removing any grass or trees, and ensuring the area receives adequate sunlight and drainage.
When selecting a suitable spot for your patio, it's crucial to consider the overall stability of the soil to prevent any issues with ground shifting or settling over time. Additionally, potential obstacles like trees, utility lines, or underground structures should be identified and accounted for to avoid complications during the installation process. Environmental conditions such as wind exposure and proximity to water bodies can also influence the patio's longevity and performance, making it essential to choose a location that minimizes these impacts.
Prepare The Surface
Surface preparation is a critical step, involving the removal of debris, leveling the ground, and ensuring a suitable existing surface like concrete, tarmac, or block paving to serve as the base.
Before applying resin, it is essential to thoroughly clean the surface to remove any dirt, dust, or organic matter that could affect adhesion. This can be done through sweeping, pressure washing, or chemical cleaners depending on the level of contamination. Next, any uneven areas should be leveled out to create a smooth and uniform base for the resin application.
If there are any cracks or damage present on the surface, these should be repaired using appropriate fillers or sealants to ensure a seamless finish. For concrete surfaces, it is recommended to check for moisture levels and apply a suitable primer to enhance adhesion.
Gather Materials
Gathering all necessary materials, including aggregates, resin, a trowel, and other tools, is essential to ensure a smooth and efficient installation process.
Aside from the mentioned materials, you will also need a mixing container, gloves, safety glasses, and a measuring cup. Having these tools prepared before starting the installation avoids interruptions and ensures a seamless project execution.
Make sure to have a clean and dust-free work area to optimize the adhesion and curing process of the resin. Taking these preparatory steps ensures that the installation progresses smoothly, ultimately leading to a high-quality finished product. Ensuring preparation can save you time and prevent potential setbacks during the installation.
Steps To Install A Resin Patio
Installing a resin patio involves a series of steps, starting from mixing the resin and hardener, adding the aggregate, spreading the mixture onto the surface, smoothing and leveling it, and finally letting it cure to achieve a durable and attractive finish.
Mix Resin And Hardener
The first step in the installation process is to mix the resin and hardener thoroughly, ensuring a consistent and homogenous mixture that will bind the aggregates effectively.
To achieve the correct ratio of resin to hardener, typically, a 2:1 ratio by volume is recommended for most epoxy resin systems. Measuring cups or scales are essential tools for accurately portioning out the resin and hardener.
Begin by pouring the appropriate amount of resin into a clean mixing container. Slowly add the hardener, ensuring not exceed the ratio specified by the manufacturer. Use a stirring stick or paddle to combine the two components thoroughly, scraping the sides and bottom of the container to incorporate all the material evenly. The mixing process should be gentle but thorough to avoid introducing air bubbles into the mixture.
Add Aggregate
Once the resin and hardener are mixed, the next step is to add the aggregate, such as resin bound gravel, into the mixture to create the desired texture and strength for the patio surface.
It is crucial to gradually add the aggregate into the resin-hardener solution while continuously stirring to achieve a uniform distribution. Ensuring that the aggregate particles are evenly dispersed throughout the mixture is essential for maintaining consistent texture and strength across the entire patio surface.
Spread Mixture Onto Surface
Using a trowel, carefully spread the resin-aggregate mixture onto the prepared surface, ensuring an even layer that covers the entire area of the patio.
When spreading the mixture, start from one corner and work your way across the surface in a systematic manner. Make sure to apply consistent pressure on the trowel to create a uniform thickness.
One helpful technique is to use a back-and-forth motion while spreading the mixture, ensuring that it is distributed evenly.
For large areas, divide the patio into smaller sections to manage the application process more effectively.
Smooth And Level The Surface
After spreading the mixture, use the trowel to smooth and level the surface, removing any air pockets and ensuring a flat, even finish.
One important technique for achieving a smooth surface is to work in small sections, preventing the mixture from drying out too quickly. This allows you to focus on each area, ensuring proper leveling and eliminating potential lumps or bumps. Gently tapping the surface with the trowel can help compact the mixture, creating a denser and more stable finish.
When dealing with air bubbles, carefully puncture them with a pin to release the trapped air. Smooth out the affected area to blend it seamlessly with the rest of the surface. To avoid uneven spots, maintain a consistent pressure and motion while troweling, moving in fluid strokes across the entire surface.
Let It Cure
The final step is to let the resin patio cure, allowing enough drying time for the surface to harden and achieve its full strength and durability.
During the curing process, it is crucial to follow the manufacturer's guidelines regarding recommended drying times. Typically, resin patios require several days to a week to cure completely. Factors such as temperature and humidity can influence the curing time, so it is essential to monitor these conditions closely.
To aid the curing process, ensure that the patio is kept in a well-ventilated area to promote proper air circulation. Avoid exposing the freshly laid resin to direct sunlight or extreme weather conditions, as this can negatively impact the curing process.
Take precautions during this period to prevent any damage to the surface. Avoid placing heavy objects on the patio, and refrain from walking on it until it has fully cured to avoid compromising its integrity.
How To Maintain A Resin Patio?
Maintaining a resin patio involves regular cleaning, sealing the surface periodically, and performing repairs as needed to keep the patio looking its best and extend its lifespan.

Regular Cleaning
Regular cleaning is essential to remove dirt and debris from the surface, preventing buildup that can affect the appearance and performance of the resin patio.
Maintaining a clean patio not only enhances its aesthetic appeal but also prolongs its lifespan. Thorough sweeping of the surface should be done regularly to rid it of loose particles and leaves. Hosing down the patio with water helps dislodge stubborn dirt and grime. Using mild detergents diluted in water can help tackle tougher stains without damaging the resin material.
Depending on the level of usage and exposure to elements, it's recommended to clean the patio at least once a week or more frequently if needed. By incorporating these cleaning methods into your routine, you can ensure that your resin patio stays looking fresh and inviting for years to come.
Sealing The Surface
Sealing the surface periodically helps protect the resin patio from UV damage, stains, and wear, ensuring it remains UV stable and visually appealing over time.
In terms of selecting the right sealant for your resin patio, there are various types available to choose from. These include solvent-based sealants, water-based sealants, and penetrating sealants, each offering different levels of protection and finishes. It is essential to consider factors such as the climate, foot traffic, and desired appearance when deciding on the most suitable sealant.
Applying a sealant to the resin patio is a straightforward process that can be done by following the manufacturer's instructions. Typically, it involves cleaning the surface thoroughly, allowing it to dry, applying the sealant evenly using a brush or roller, and allowing it to cure completely before using the patio again.
To ensure the longevity and effectiveness of the sealant, it is recommended to reapply it every 1-2 years or based on the manufacturer's guidelines. Regular maintenance and timely resealing can help prolong the life of your resin patio and keep it looking its best for years to come.
Repairing Cracks Or Damage
Over time, cracks or damage may occur on the resin patio surface, and prompt repairs are necessary to prevent further deterioration and maintain the patio's integrity.
Common types of damage that can occur on a resin patio include hairline cracks, chips, discoloration, and surface scratches. These issues can be caused by various factors such as weather exposure, heavy furniture dragging, or accidental impacts.
In terms of repairing cracks and other damages, methods can involve filling the cracks with resin filler, sanding the surface to remove imperfections, or applying a fresh layer of resin coating. Essential tools and materials for effective repairs typically include a resin filler, sandpaper, a putty knife, a mixing container, and a resin coating kit.